|
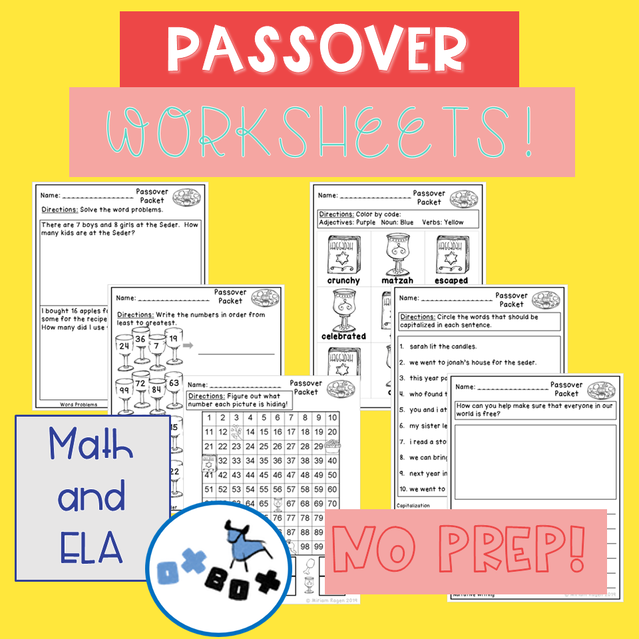
Teachers Pay Teachers and Pinterest are filled with Easter activities but have very few Passover activities available. As someone who grew up celebrating Passover and not Easter I feel like there should be more Passover activities. I made a packet of Passover worksheets for kindergarten, first, and second grade. There are Passover math worksheets and Passover literacy worksheets. The worksheets are Common Core aligned but can be used in any classroom. I hope these worksheets make more students feel included in the cultures celebrated in the classroom! Put your email in below to get the Passover Freebie Worksheets! Check out the full product here.
0 Comments
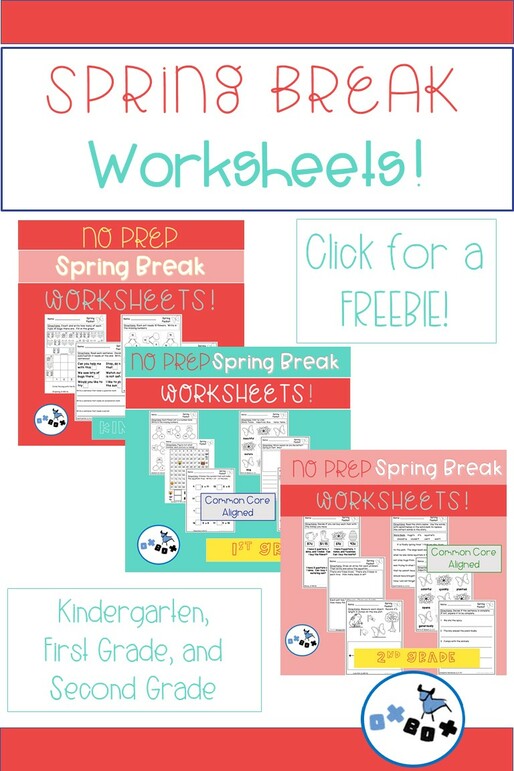
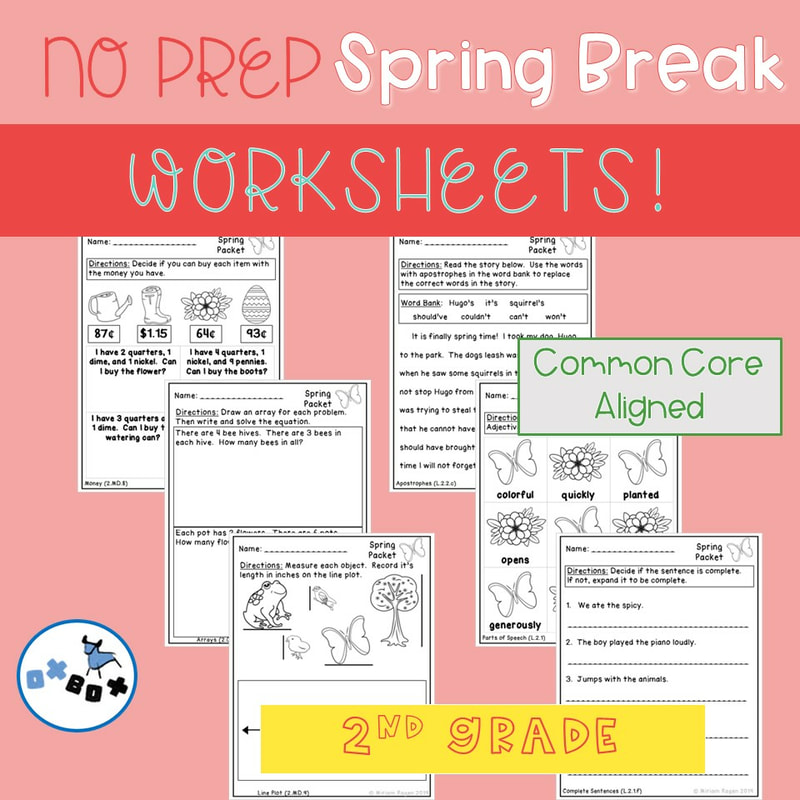
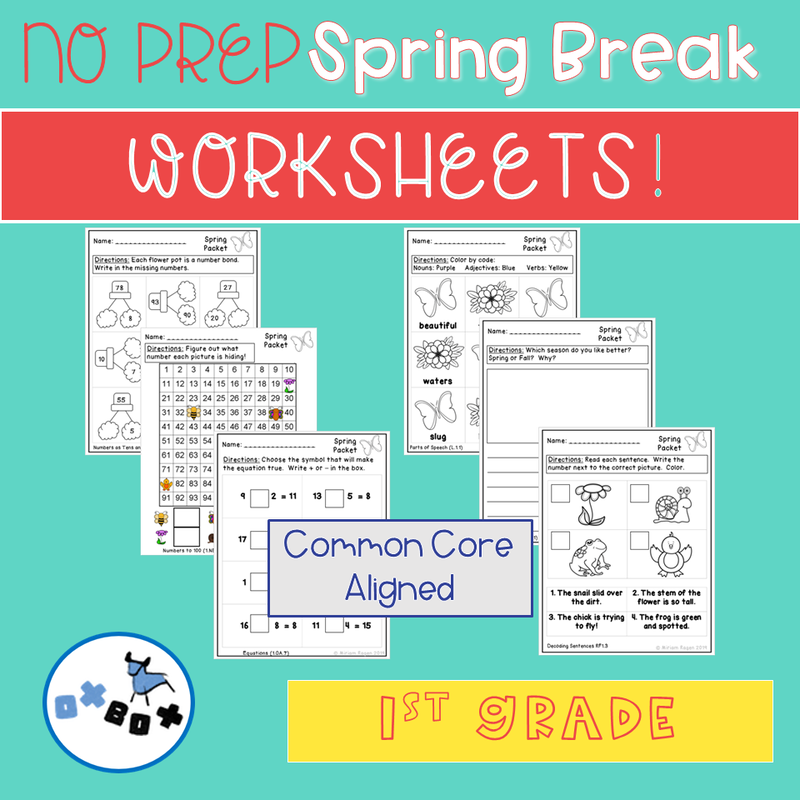
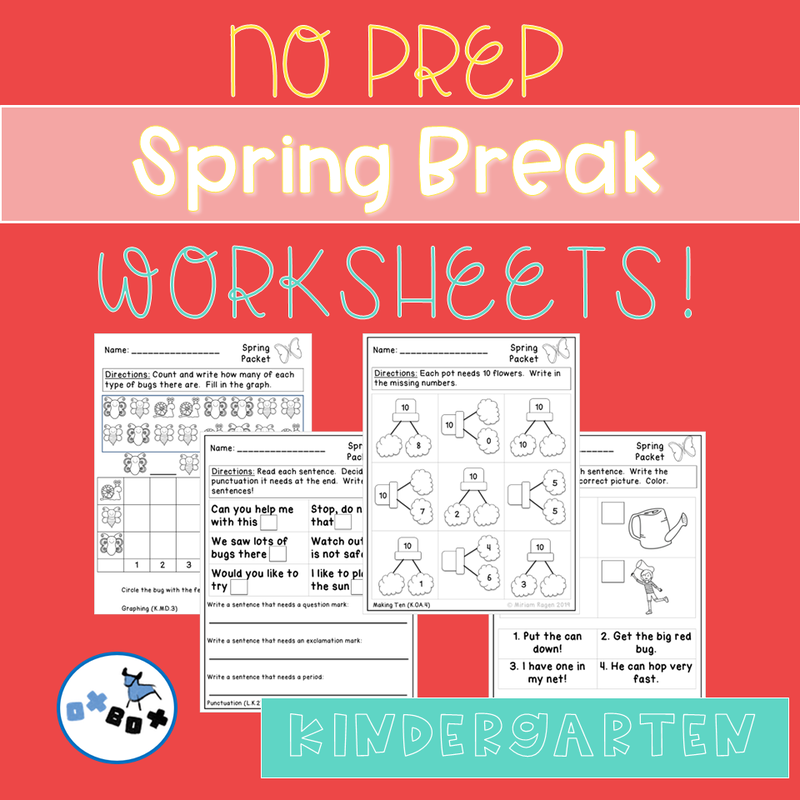
Spring Break is great break to gear up for testing and end of year activities. Plus, then the countdown to summer can officially begin! I wanted to make it as simple as possible for teachers so created packets of Spring Break worksheets by grade level! Each Spring Break packet is filled with Common Core aligned ELA and math skills so all you have to do is print and stick in backpacks on the way to enjoy your spring break! I have a Spring Break Worksheet packet for Kindergarten, First Grade, and Second Grade! Click on the pictures to see the full Spring Break pack. Enter your email below to grab a free sample! HAVE A GREAT SPRING BREAK!!!
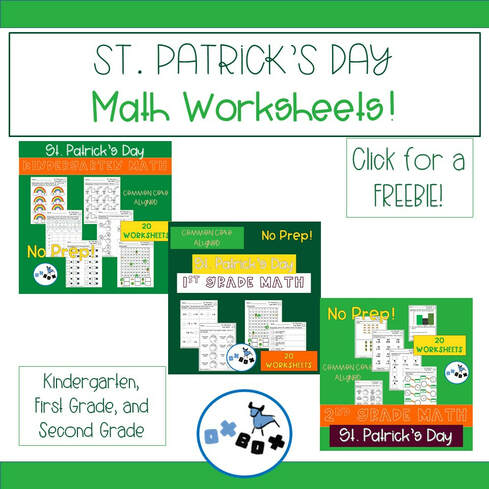
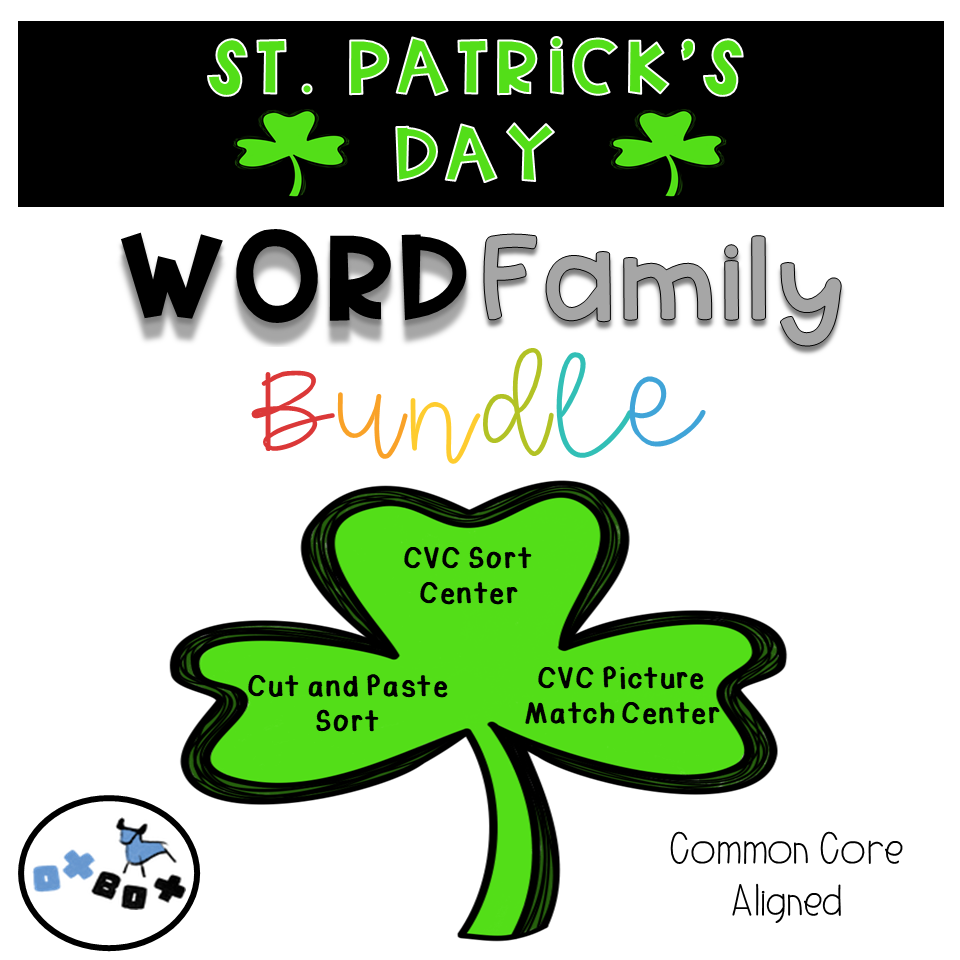
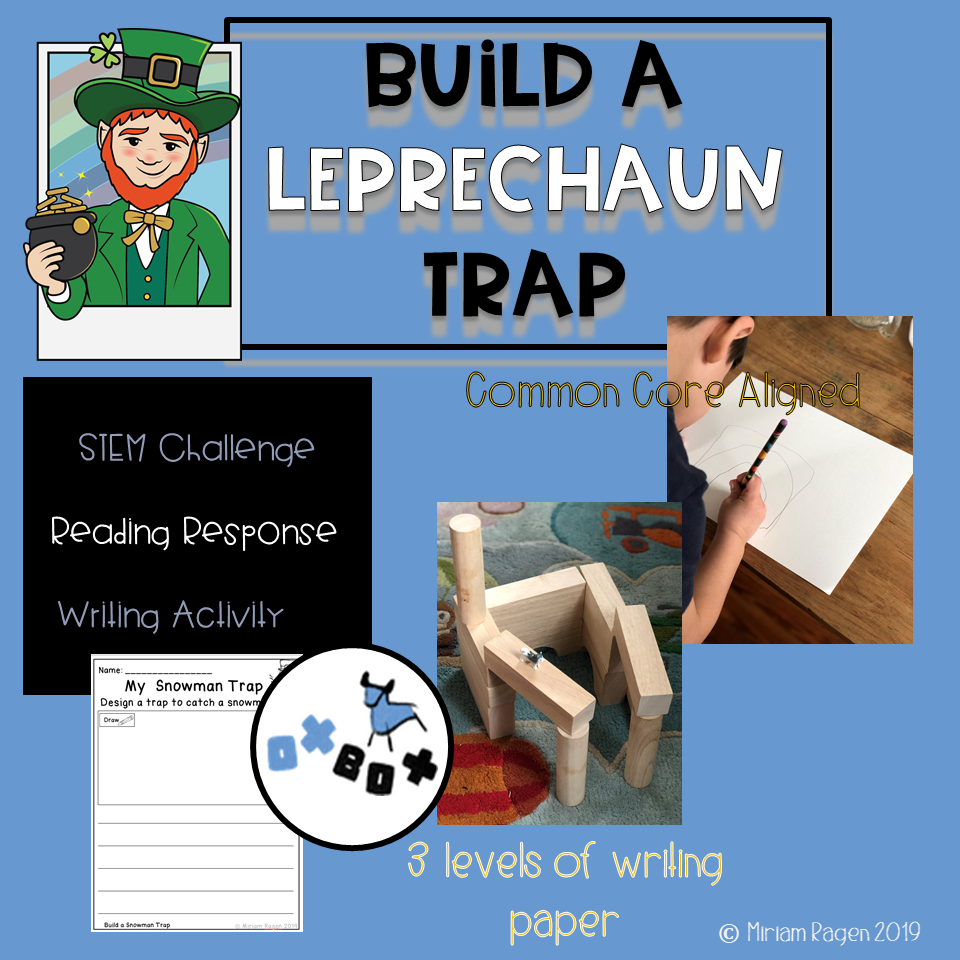
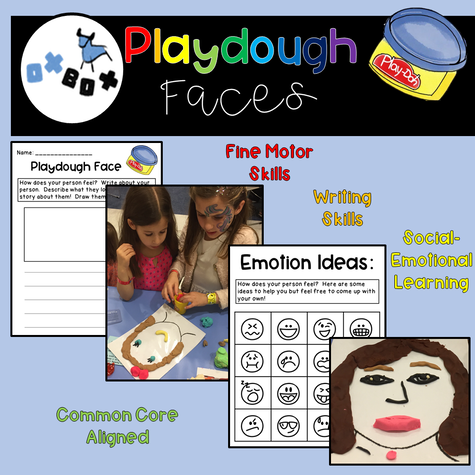
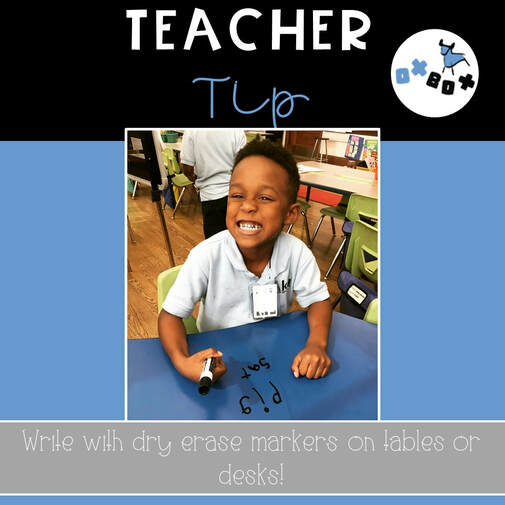
Somehow I think teaching in the spring feels like there is so much to teach and so little time and like time is passing very slowly. I like to fight the drag by using seasonal resources that liven up our classroom routines. Now that Mardi Gras is over I am moving my attention to St. Patrick's Day! For Math I made some No-Prep Worksheet packets! There are packets for kindergarten, first and second grade. Each packet includes 20 worksheets tied to grade level standards. These are so simple to use and could work perfectly in homework, morning work, or your math lesson! For ELA I have made a Word Family Bundle with 2 different sorts (sorts are my favorite center and worksheet activities because they are so engaging)! I also made a STEM and writing response that can be used with the book "How to Catch a Leprechaun." Click on the pictures to go to the product! Scroll down and enter your email to get a St. Patrick's Day Math FREEBIE! Even as an adult I find playing with playdough very satisfying. You can make anything and the squish is fun no matter what age you are! But playing with playdough is not just fun, it has some great benefits! It helps to strengthen fine motor skills and the muscles used for writing. We don't usually think about our hand muscles but they are essential to writing, drawing, cutting, etc. Playdough is one way to strengthen those muscles and help children build stamina they need to be successful. I love using playdough for academic centers-- making letters, numbers, sight words, etc. But, I decided to use playdough to liven up my writing center and incorporate some social-emotional learning! Playdough Faces asks students to make a face using playdough. They can be as creative and detailed as they want. It can look like a human face or a silly face. There is even a chart of emotion ideas to help push them past "happy" and "sad." There are optional writing pages where students can either describe the face they made or write a story about the character they created. This ties in those Common Core writing standards in a fun way! Click on the picture to see it in my store! Fill out the form below to get my Playdough ABC for free! Writing words, solving math problems, practicing spelling words are just a few of the things students write every day. It can be boring as a teacher and even more boring as a kid. Which brings us to this weeks TEACHER TIP! Dry erase markers are probably my favorite school supply! I love to use them in math, phonics, writing, you name it. I have found that writing on the table with dry erase markers is the best! You don't have to pass out white boards and students are engaged and eager to participate! It is easier to erase with your finger and fix a mistake than to erase with pencil on paper. I have even given spelling tests this way! I ask the students to write the words on the table in front of them and go around and mark how many words they got right. Students are invested and there are no papers to grade!
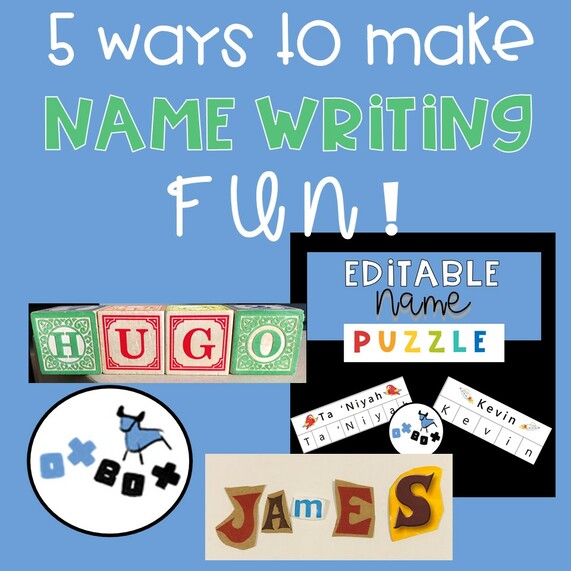
Clean up is pretty easy- I used clorox wipes or if I didn't have any hand sanitizer and a paper towel. I've also used it as an incentive by choosing a student at each table who has done a great job to wipe away the dry erase marker. Have you tried this in your classroom? How has it worked? I'd love to hear your ideas! How many times a day do you write your name? How many times a day do your students write theirs? I bet the answer is A LOT! It is important that students master name writing because they will be doing it all their life and in the classroom less time writing the name on the paper means more time learning and completing the work! Teaching your child how to spell and write their name is one of the best things you can do to ensure they are ready to be successful in school. We know that writing the name over and over again is BORING! We do not want that! We want this to be a fun and enjoyable activity so we have come up with some suggestions for how to make name writing fun! SING! Make a song! Choose a song based on how many letters are in the name. Don’t let a bad voice hold you back, songs make recalling information much easier for many kids!
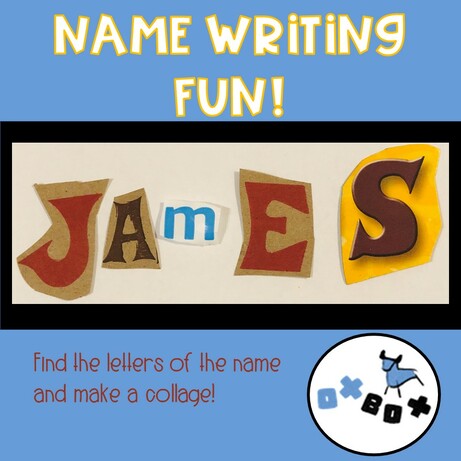
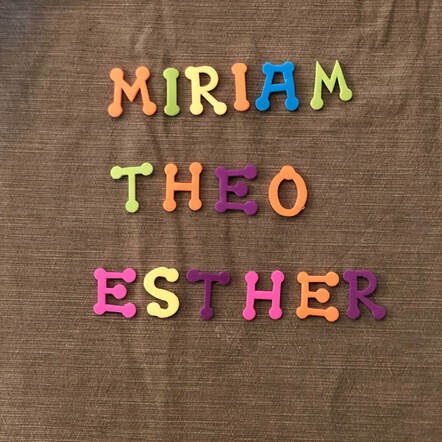
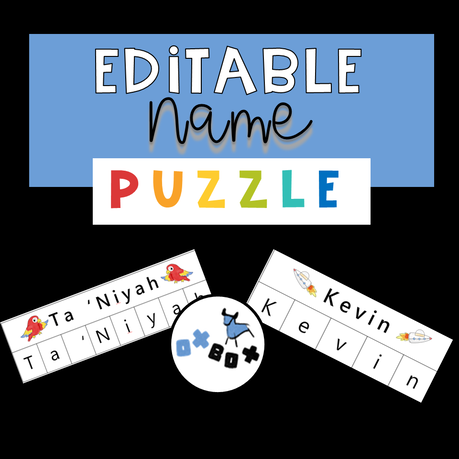
FIND THE LETTERS: Have them find the letters of their name in books, magazines, on cereal boxes, and anything else with letters. Make the letters into a collage! Play "I Spy" with the letters in their name while you are out and about. Can they find the first letter of their name on a license plate or street sign? What about on the cereal box? PLAYDOUGH: We love playdough! It makes everything more fun. Make the letters out of playdough! Playdough helps strengthen the muscles that are used to write but it is much more fun than just tracing your name. Start by writing the letter on a piece of paper and then have your child put the playdough on top. Gradually switch to making the letters without the paper. BUILD IT: We have lots of letter tiles, magnets, and blocks around. These are perfect for building names! Start with playing "I Spy" with the letters: "I spy the first letter in your name." Then build the name and have the child touch and say each letter or sign their special name song. If you have more than one child practicing their name make comparisons between the two! Which name is longer? Which has fewer letters? Are any of the letters the same? NAME PUZZLE:
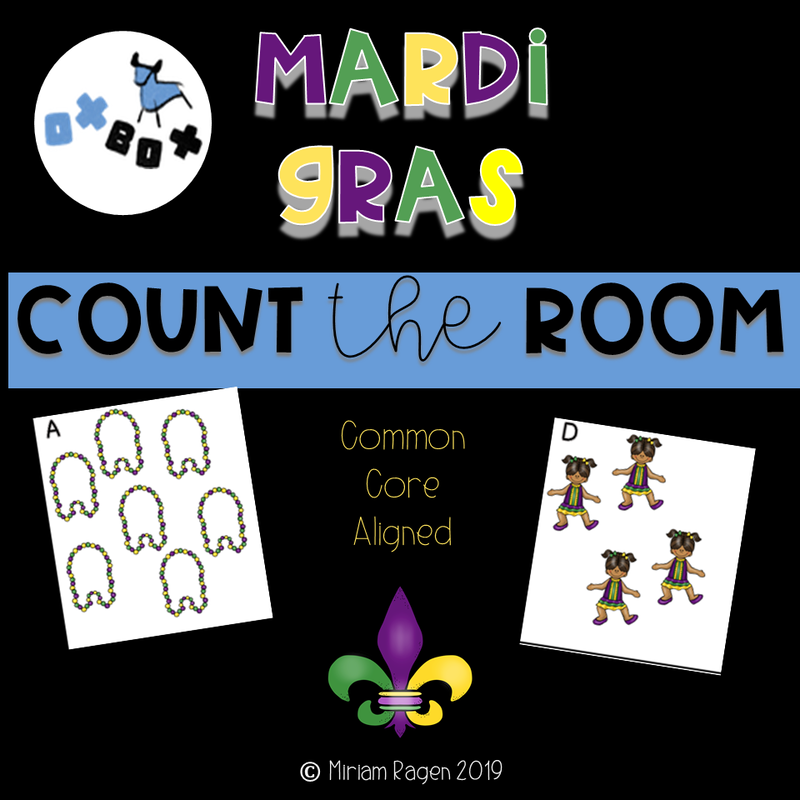
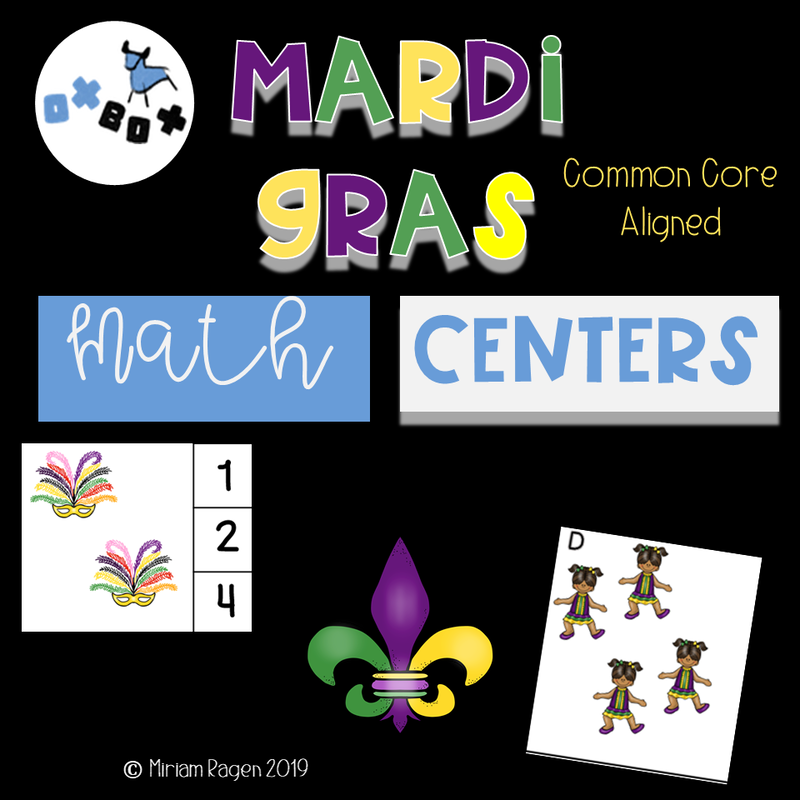
This is our OxBox best seller! The editable file lets you type in your child’s name and generate the puzzle. Print out the puzzle (you can also laminate it for durability) and cut out the individual letters. Start by having your child name the letters in their name. Then have them match the individual letters to the full name. Gradually have them build their name with the letter tiles, without referencing the completed version. Go slowly to build confidence and avoid frustration! *Teachers: this name puzzle is a perfect morning work or center activity! Have students complete their name puzzle every day until they can do it perfectly! Check out the Editable Name Puzzle on Teachers Pay Teachers! Have another way to practice? We would love to hear it! Please comment here or tell us on Instagram at @oxboxteaching! Happy name writing! It is almost time for Mardi Gras! If you aren't from New Orleans, Mardi Gras means days and days of awesome parades, marching bands, dance troops, and catching all the sparkly and shiny gear you can! Imagine the best block party or tailgate you've ever been to and then multiply that by 100 and you are getting close to the level of fun. Teachers are excited. Students are excited. Instead of trying to stick to your scope and sequence channel some of that excitement into your academic activities. Students will be engaged in the Mardi Gras theme and eager to produce some great writing! These resources are great for students who celebrate Mardi Gras and students who are just learning about the holiday for the first time! I created the Mardi Gras Writing Packet! There are 6 different writing prompts included. Some prompts ask for students to pick their favorite element and explain why. Others ask for a more creative thinking: designing floats, masks, etc. These prompts are Common Core aligned and give students great practice at opinion and narrative writing! 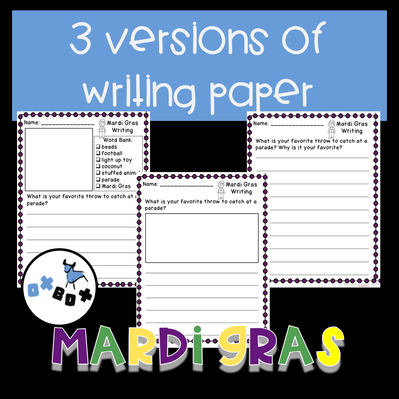 I wanted this resource to be accessible to many grades so I created 3 versions of each prompt.
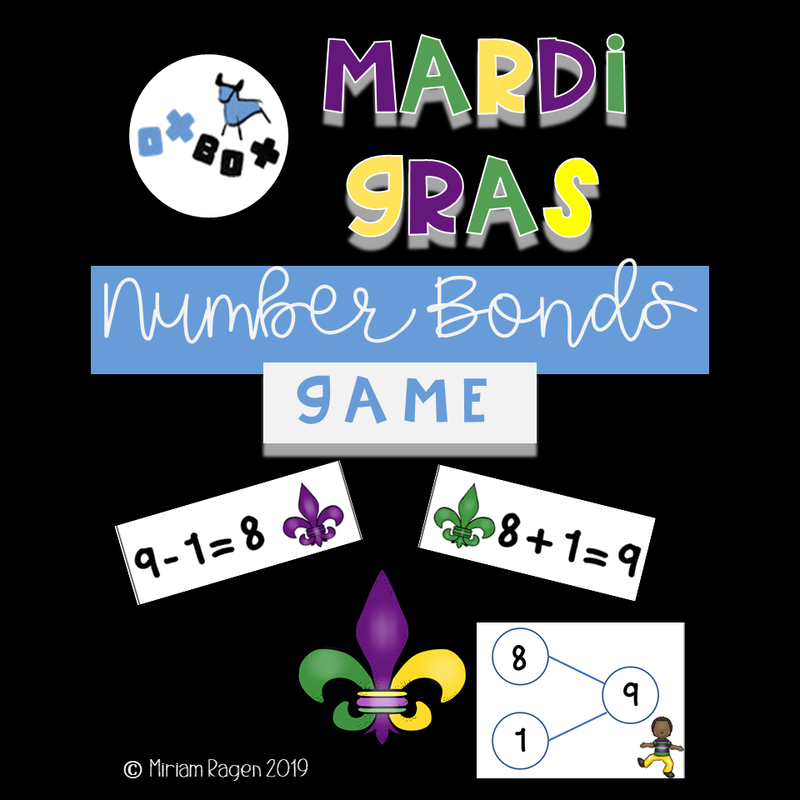
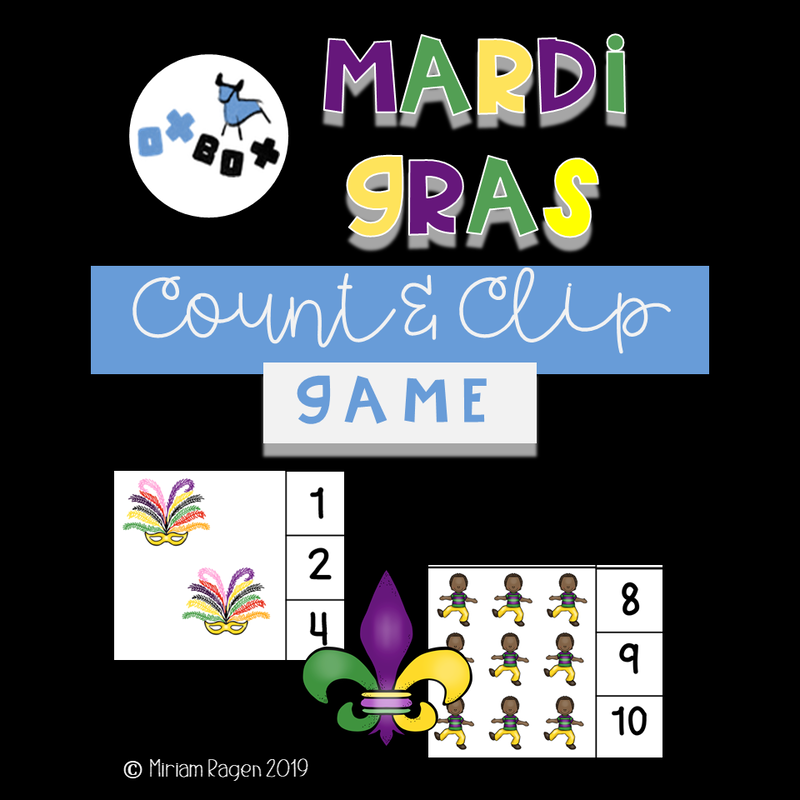
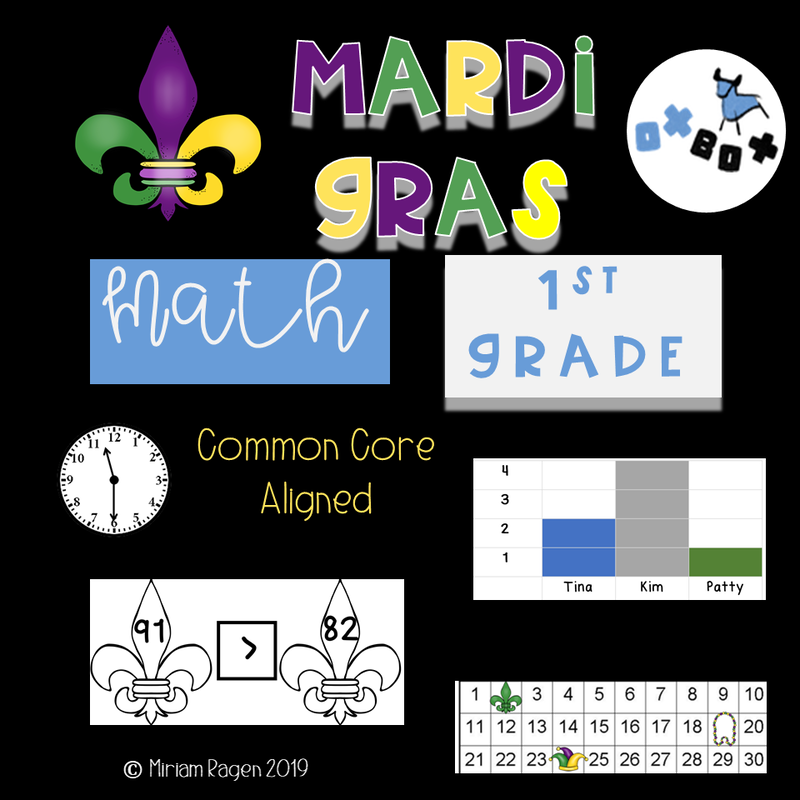
3. Full page for writing Many schools have the whole week of Mardi Gras off. I think this resource could be sent home and completed over Mardi Gras break or completed once students come back to school to reflect on their experience. New to Mardi Gras? No problem! Learn with your students about Mardi Gras traditions before diving into the writing prompts. Here are some videos about Mardi Gras: PBS, National Geographic, Mardi Gras Music Playlist. Here is a great list of Mardi Gras read alouds. Check out my other Mardi Gras resources! Click on the picture to go to the resource! And as we say....
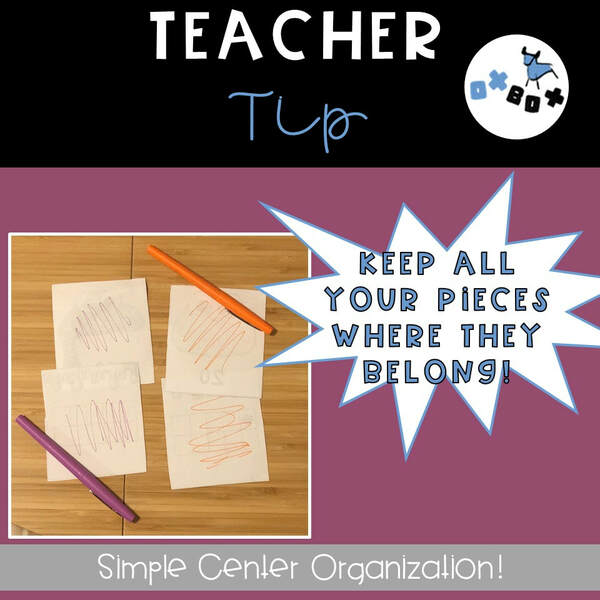
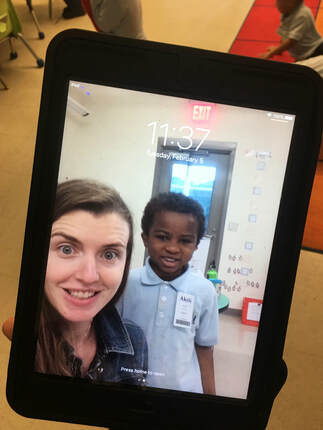
I LOVE centers! I think they are a great way for kids to learn academic and social skills while also having fun. I do not love organizing centers. I really do not like finding center pieces around the classroom and not knowing where they go. Despite talks with students and modeling center expectations, center pieces will get lost! They are kids. They are busy learning. They will make mistakes and pieces will get lost. That is okay!!!! Here is how I set up my center organization to be easy on teachers but effective in the classroom. I print out and laminate many centers for all parts of my day. I like to make multiple versions of each center so that different students can work on it at the same time. In my class students can complete centers at a table, laying on the ground, in a pocket chart, under a table... I don't like to limit them too much which can mean more scattered center pieces. COLOR CODING CENTER PIECES IS THE SECRET! After I print my pages but before I laminate them I color code the centers. This takes approximately 2 seconds. I grab the closest coloring implement (crayon, pen, pencil, highlighter, whatever was left by the copy machine) and scribble on the back of my centers. Each set of a center is one color. The scribbles aren't beautiful, they just need to have a little bit of the color on the back of each piece. I then laminate, cut out the pieces, and put the center in my classroom! Now when I find that random piece on the floor I simply need to flip it over and see what color it has. I then find the container with the rest of the pieces and reunite them! This is so simple that students can take ownership. It can even be a classroom job. I had tried numbering the back of my pieces before but that takes more time and if a student is not fluent with number recognition they cannot take the same ownership in the problem solving process as they can with color coding. It also works well to print different copies on different colors of cardstock. However, this can make the copying process more difficult, and let's be real sometimes you don't have colored cardstock available. Enter your info below to get a FREE center! Try out the color coding and let me know if it works! Do you use iPads in your classroom? We do! And it is great! Sometimes we share iPads between classrooms- for testing, intervention groups, etc. Inevitably some iPads end up back in the wrong classroom causing confusion for students who do not know the passcode or cannot find the app they are used to. After a year of trying to keep straight which iPad went to which classroom with 20+ kindergarteners moving around I came up with a solution. I think in this case, it is easier to show you a picture rather than explain it! TAKE A SELFIE!! Now there is no question which class this iPad belongs to! Even the youngest student would be able to correctly identify which class it goes to.
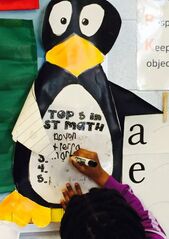
Plus, it is fun! The kids love it! I took selfies with different kids for different iPads. They love seeing which picture is on the iPad they are completing their personalized learning on! This simple solution has saved so much sorting and organization! Hope it helps! This could work with computers as well. Now if I could just figure out a miracle solution for keeping headphones from being tangled.... Jiji the penguin is a celebrity in my class. He is the star of many stories at the writing center, often listed as something students are thankful for at Thanksgiving, and commonly discussed at lunch. For those who don't know, Jiji is the penguin that leads students through the ST Math curriculum. Over the years I have tried different systems for tracking data and encouraging students to take ownership of their ST Math growth. The most important part of all my systems has been a class data talk on Friday. Data Talk: I have used ST Math with kindergarteners fir 4 years, and each class has learned to analyze their data and set goals to work towards. Data talk always starts with looking at the overall class data. We look at the average class percentage and how many students have a problem. We talk about how our goal is to get to 100% by the end of the year so that we are ready for first grade. Then we dive into the individual data. We celebrate success by announcing what percent in the curriculum each student is at. We move the students individual Jiji's on the wall tracker. One year I had an awesome Jiji where we wrote the students who had made the most growth that week. Students are so proud to watch their Jiji's move up the tracker, closer to 100%. Some years I moved every Jiji every week, other years I moved it when they reached a new decade, both ways work! Next, we would troubleshoot for students who were having problems beating their levels (evidenced by the circle next to their name, the bigger the circle the bigger the problem). We would discuss what the problem was:
Data Tracking: We use the wall data tracker throughout the year. It is a simple way for me to easily keep track of where each student is in the process. The tracker invests students in their growth and encourages them to work harder. It also serves as a good talking point with families during conferences. When a student reaches 100% of the curriculum they become a member of the exclusive, Jiji Club! This simply means that I take their picture and hang it in the hallway under a sign that says "Jiji Club!" but if you ask the students, it is a big deal! I then move them to the next grade level on ST Math. I love that students can be at very different points from their classmates. Some years I have students that finish the kindergarten and first grade curriculum and begin on the second grade curriculum! It is a great way to push students who have mastered grade level concepts. Check out my editable data tracker. Type (or print and write) your students' names on the cards. Laminate for durability. Post the sign and percentage markers on a classroom wall. Using double stick or teacher tape place the students' cards on the tracker.
This tracker could work with many different ed-tech/blended learning programs! I would love to see pictures of the tracker in your classroom! Please send them to me at [email protected] or on Instagram @oxboxteaching! Long live Jiji! |
AuthorMiriam taught kindergarten and first grade for 10+ years. Archives
July 2022
Categories
All
|




 RSS Feed