|
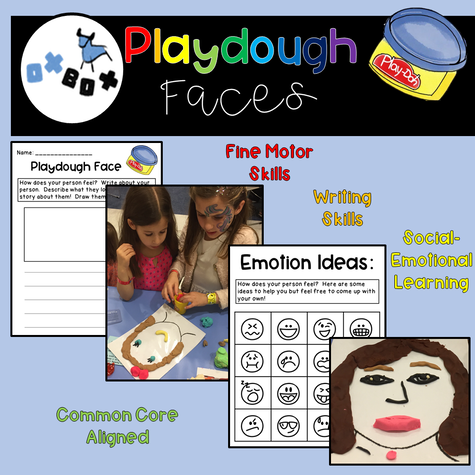
Even as an adult I find playing with playdough very satisfying. You can make anything and the squish is fun no matter what age you are! But playing with playdough is not just fun, it has some great benefits! It helps to strengthen fine motor skills and the muscles used for writing. We don't usually think about our hand muscles but they are essential to writing, drawing, cutting, etc. Playdough is one way to strengthen those muscles and help children build stamina they need to be successful. I love using playdough for academic centers-- making letters, numbers, sight words, etc. But, I decided to use playdough to liven up my writing center and incorporate some social-emotional learning! Playdough Faces asks students to make a face using playdough. They can be as creative and detailed as they want. It can look like a human face or a silly face. There is even a chart of emotion ideas to help push them past "happy" and "sad." There are optional writing pages where students can either describe the face they made or write a story about the character they created. This ties in those Common Core writing standards in a fun way! Click on the picture to see it in my store! Fill out the form below to get my Playdough ABC for free!
0 Comments
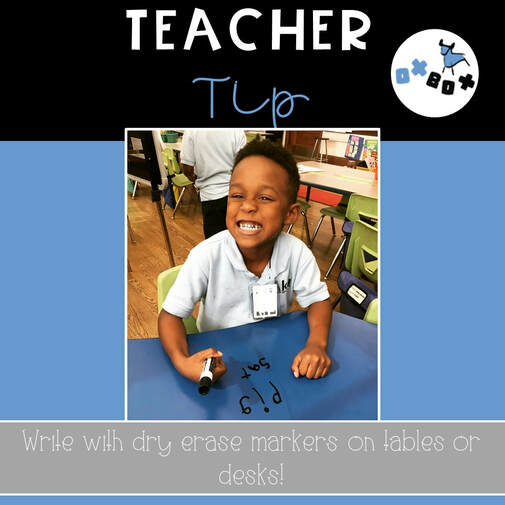
Writing words, solving math problems, practicing spelling words are just a few of the things students write every day. It can be boring as a teacher and even more boring as a kid. Which brings us to this weeks TEACHER TIP! Dry erase markers are probably my favorite school supply! I love to use them in math, phonics, writing, you name it. I have found that writing on the table with dry erase markers is the best! You don't have to pass out white boards and students are engaged and eager to participate! It is easier to erase with your finger and fix a mistake than to erase with pencil on paper. I have even given spelling tests this way! I ask the students to write the words on the table in front of them and go around and mark how many words they got right. Students are invested and there are no papers to grade!
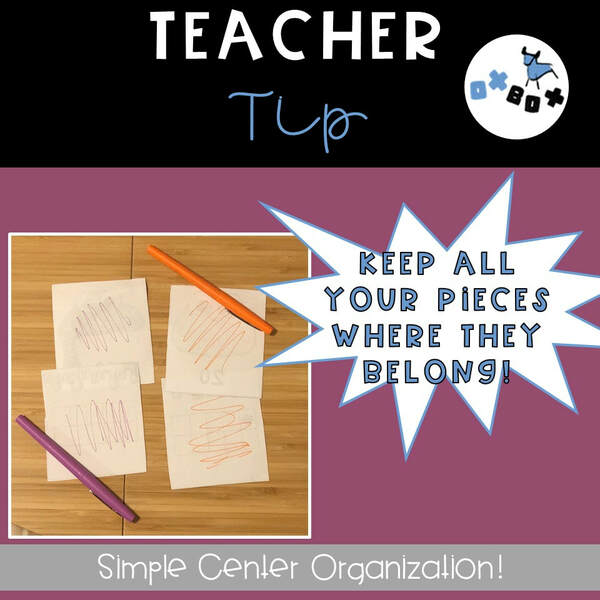
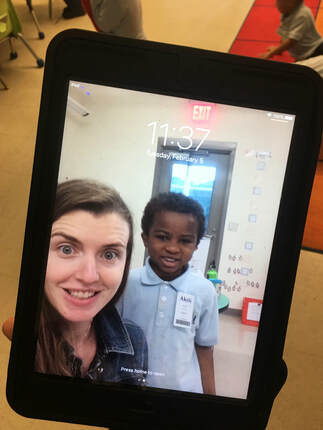
Clean up is pretty easy- I used clorox wipes or if I didn't have any hand sanitizer and a paper towel. I've also used it as an incentive by choosing a student at each table who has done a great job to wipe away the dry erase marker. Have you tried this in your classroom? How has it worked? I'd love to hear your ideas! I LOVE centers! I think they are a great way for kids to learn academic and social skills while also having fun. I do not love organizing centers. I really do not like finding center pieces around the classroom and not knowing where they go. Despite talks with students and modeling center expectations, center pieces will get lost! They are kids. They are busy learning. They will make mistakes and pieces will get lost. That is okay!!!! Here is how I set up my center organization to be easy on teachers but effective in the classroom. I print out and laminate many centers for all parts of my day. I like to make multiple versions of each center so that different students can work on it at the same time. In my class students can complete centers at a table, laying on the ground, in a pocket chart, under a table... I don't like to limit them too much which can mean more scattered center pieces. COLOR CODING CENTER PIECES IS THE SECRET! After I print my pages but before I laminate them I color code the centers. This takes approximately 2 seconds. I grab the closest coloring implement (crayon, pen, pencil, highlighter, whatever was left by the copy machine) and scribble on the back of my centers. Each set of a center is one color. The scribbles aren't beautiful, they just need to have a little bit of the color on the back of each piece. I then laminate, cut out the pieces, and put the center in my classroom! Now when I find that random piece on the floor I simply need to flip it over and see what color it has. I then find the container with the rest of the pieces and reunite them! This is so simple that students can take ownership. It can even be a classroom job. I had tried numbering the back of my pieces before but that takes more time and if a student is not fluent with number recognition they cannot take the same ownership in the problem solving process as they can with color coding. It also works well to print different copies on different colors of cardstock. However, this can make the copying process more difficult, and let's be real sometimes you don't have colored cardstock available. Enter your info below to get a FREE center! Try out the color coding and let me know if it works! Do you use iPads in your classroom? We do! And it is great! Sometimes we share iPads between classrooms- for testing, intervention groups, etc. Inevitably some iPads end up back in the wrong classroom causing confusion for students who do not know the passcode or cannot find the app they are used to. After a year of trying to keep straight which iPad went to which classroom with 20+ kindergarteners moving around I came up with a solution. I think in this case, it is easier to show you a picture rather than explain it! TAKE A SELFIE!! Now there is no question which class this iPad belongs to! Even the youngest student would be able to correctly identify which class it goes to.
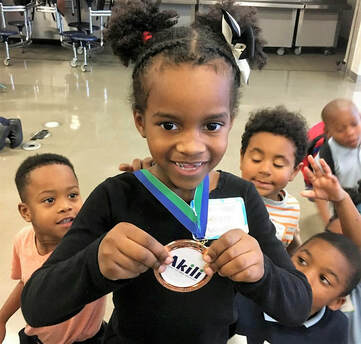
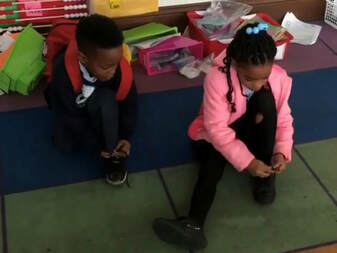
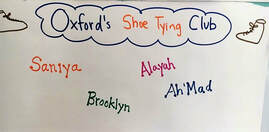
Plus, it is fun! The kids love it! I took selfies with different kids for different iPads. They love seeing which picture is on the iPad they are completing their personalized learning on! This simple solution has saved so much sorting and organization! Hope it helps! This could work with computers as well. Now if I could just figure out a miracle solution for keeping headphones from being tangled.... One of the worst parts of being a kindergarten teacher is when you reach down to tie a students shoe and it is wet. GROSS! Why is it wet? You definitely don't want to know the specifics. In an effort to avoid wet shoelaces and to motivate students to learn a life skill I have worked to incentivize shoe tying ability. The big culmination is the SHOE TYING OLYMPICS! It might not sound like much but we had over 150 students cheering and competing in the cafeteria. Read about how we set up our Shoe Tying Olympics and get a certificate for free! The First Annual Shoe Tying Olympics took place at Akili Academy with kindergarten through second grade. In the first round each student was paired up with someone in their grade. The student who tied their shoe first was the winner and moved on to the next round and the loser became their personal cheerleader. The winner would match up against another winner and the loser of that match, plus their cheerleader, would join the cheering squad for the winner. This continued until there was just one winner per grade! The rest of the grade was their cheerleaders. In the finals the champions from kindergarten, 1st grade, and 2nd grade faced off in a 3 way shoe tying battle! The winner was crowned the Shoe Tying Champion! In the First Annual Shoe Tying Olympic a second grader was crowned the champion with a kindergartener coming in second! It is a big deal as a kindergartener to be able to say that you beat the first grade champion! The competition was fierce and the hype was real! All week at recess students were practicing their shoe tying. Parents and older siblings were reporting to us that kids were practicing at home, on the bus, anywhere there was a shoe to be tied. Plus, the quick shoe tiers were used as tutors, helping their classmates master the intricacies of either the bunny ear or one loop method Shoe Tying Club The Olympics is a later in the year event but that does not mean we wait to encourage students to learn to tie their shoes. This is one of the simplest incentives I have ever used but it was effective! I created a poster that said "Shoe Tying Club" and when a student showed me that they could tie their shoe I would add their name to the chart using fancy letters! Students were eager to be a member of the club. I had to make it clear when was an appropriate time to practice- during recess was great, in the middle of my math lesson was not! Even in the first few weeks of kindergarten we were able to add students to the club! The club was great because it made the members into special helpers, able to tie a classmates shoe, helping me further avoid the mysterious wet laces! I have two shoe tying freebies for you! One is a certificate for being a member of the "Shoe Tying Club" the other is for the champion of the Shoe Tying Olympics! Fill in your email below to get the freebies! Learning to write numbers can be tricky for our littlest students. Years ago a coworker had a great trick for teaching letter formation. He assigned a sound to each number, based on the type of lines in the number. Curved lines make woop sounds, circles are bubbles and straight lines say errrr (It is much easier to understand when you watch the video!). This has made number formation so much easier for my students! Check out the video for the number sounds! Plus it is very cute to hear them make the sound while they are writing their numbers!
How do you teach number formation? |
AuthorMiriam taught kindergarten and first grade for 10+ years. Archives
July 2022
Categories
All
|




 RSS Feed